Pre and Post Slides
Every service, we have slides that runs during the pre-service, before the service starts and post service, after the service ends.
We call these Pre Slides and Post Slides, so let's learn how to build them out.
Written Guide
First Steps
Similarly to the announcements, first, we need to download the slides from Planning Center.
These can be found by clicking on the Announcements under Church Life to bring up the detail view.
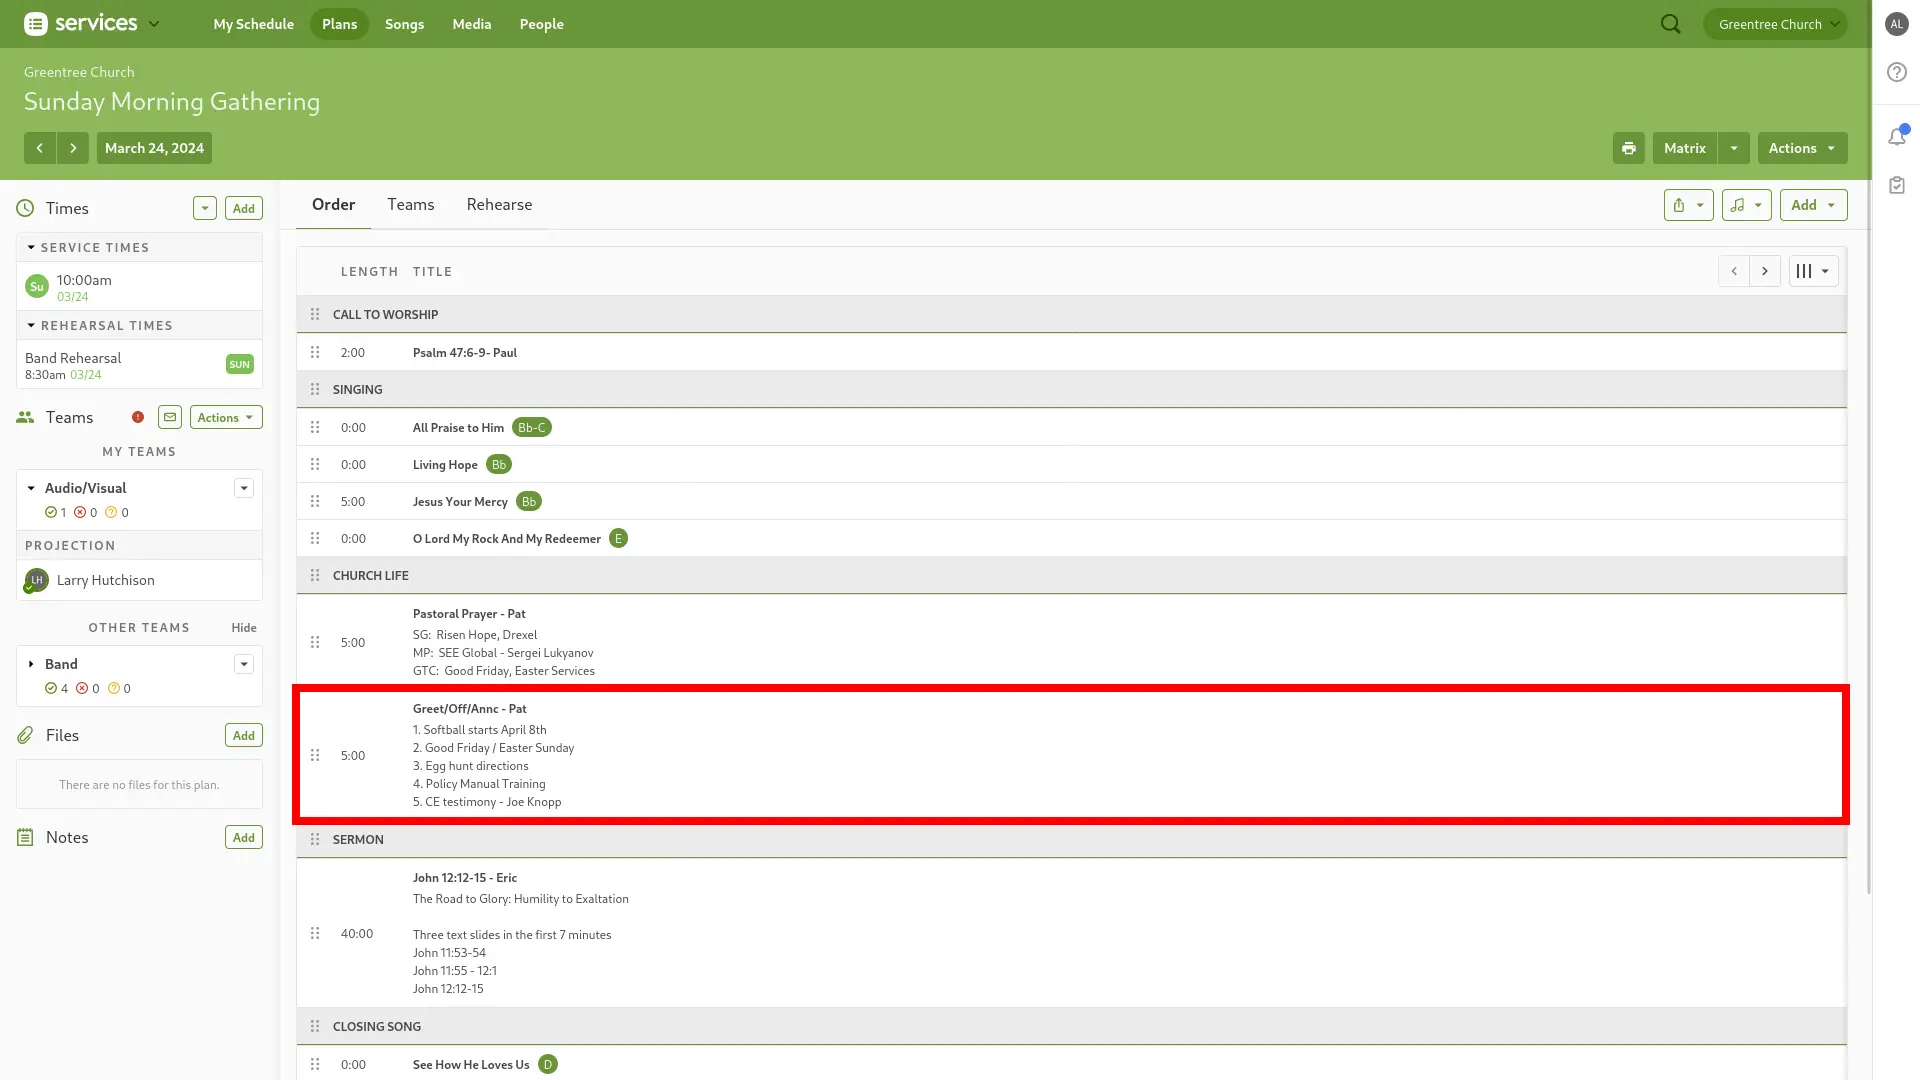
Then, download Pre Post Slides - DATE from the Files Tab
Import Slides
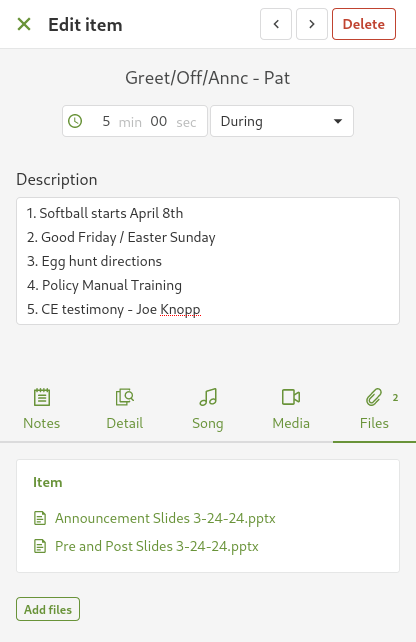
First, let's import the slides into ProPresenter.
- In ProPresenter, select
File -> Import -> PowerPoint
-
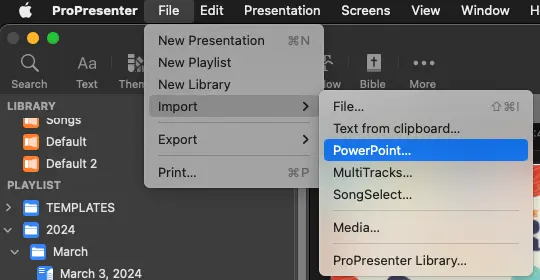
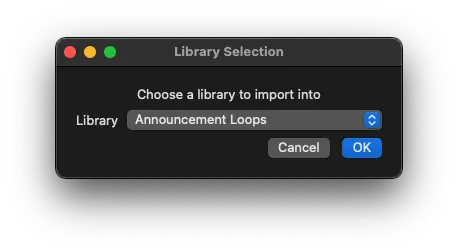
Select Pre Post Slides - Current Date from the files list in Downloads
Make sure it's being imported into the Announcement Loops Library
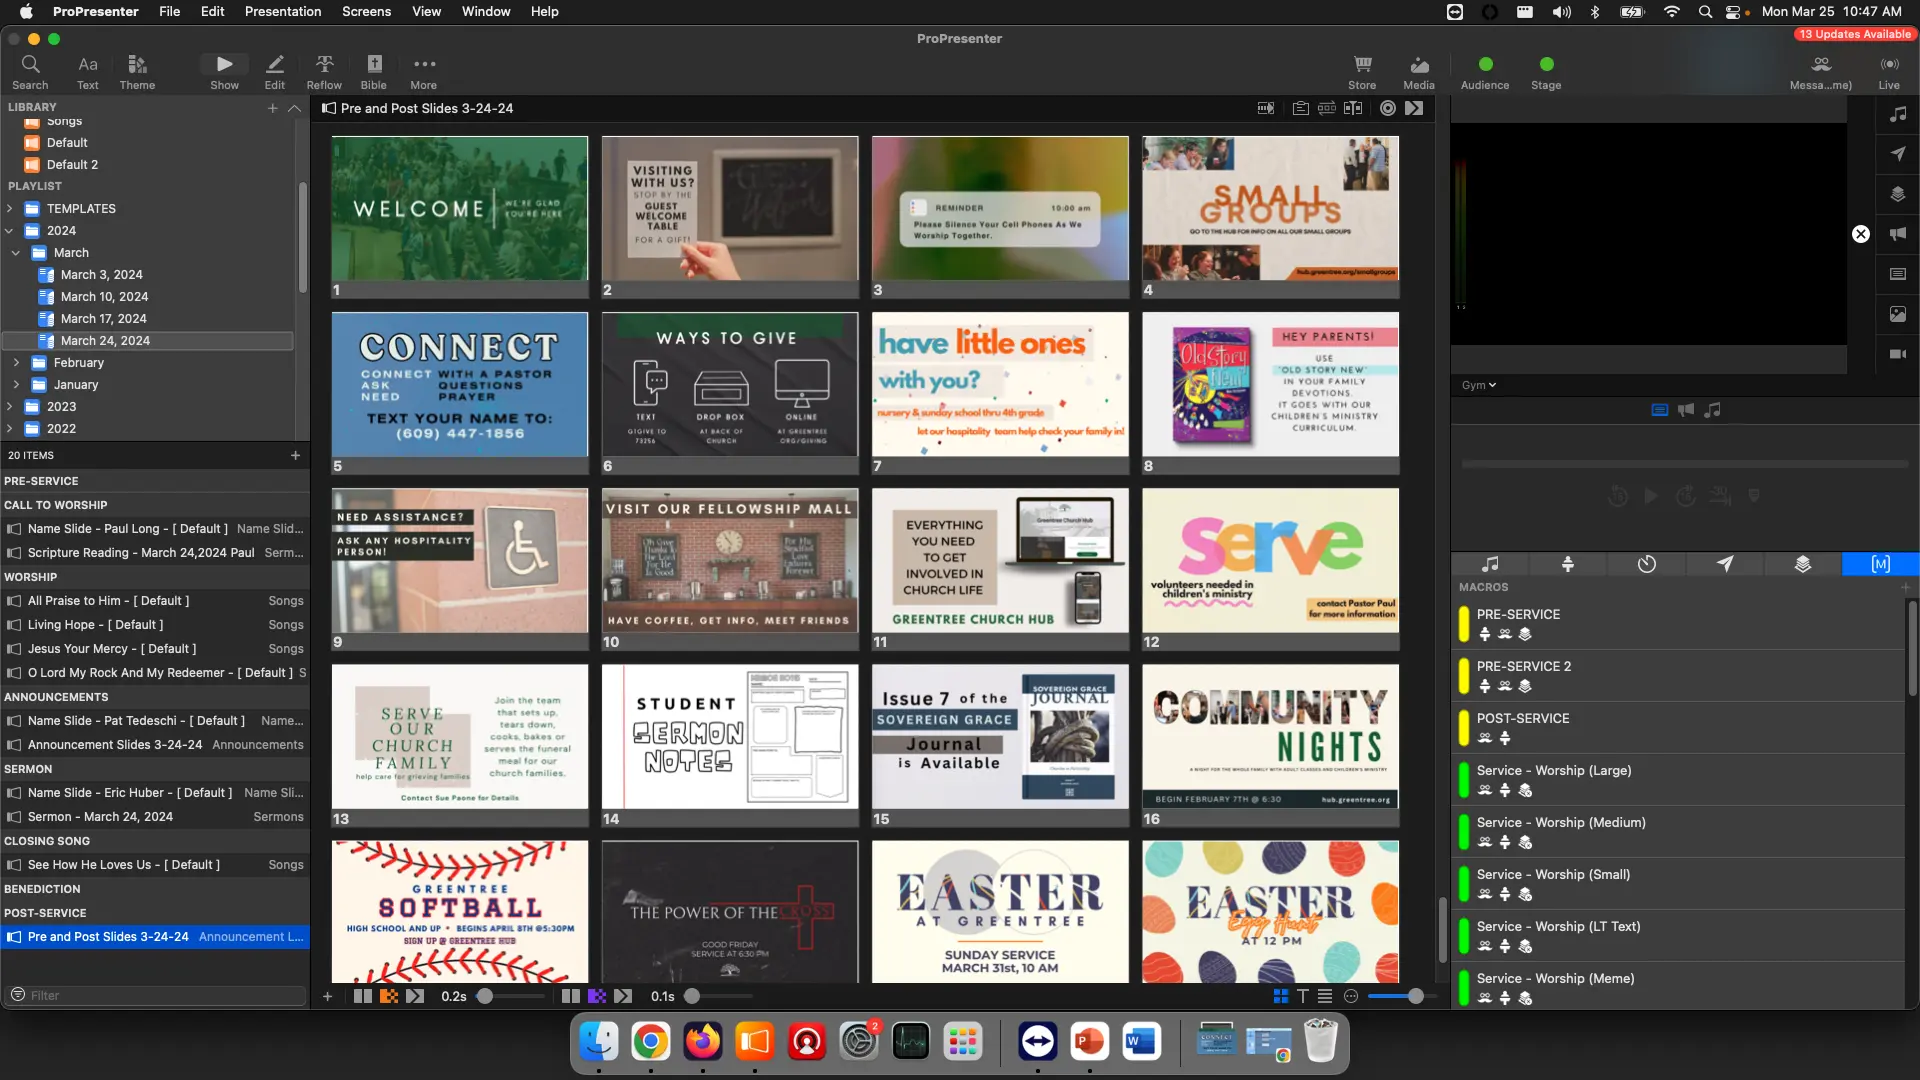
The annoucements should now be imported, and at the bottom of the Playlist
-
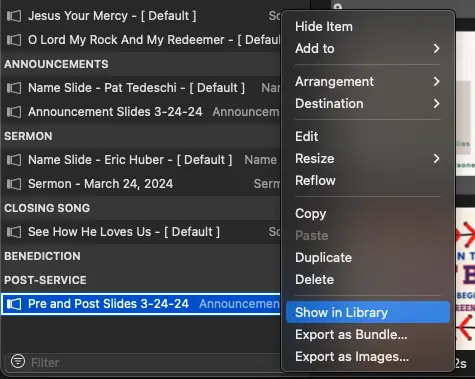
Right Click the Announcements Loop, select Show in Library
You'll now be in the Announcement Loops library with the announcement slides selected

-
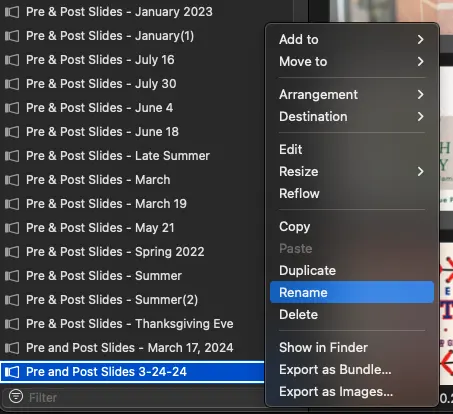
Rename Pre Post Slides
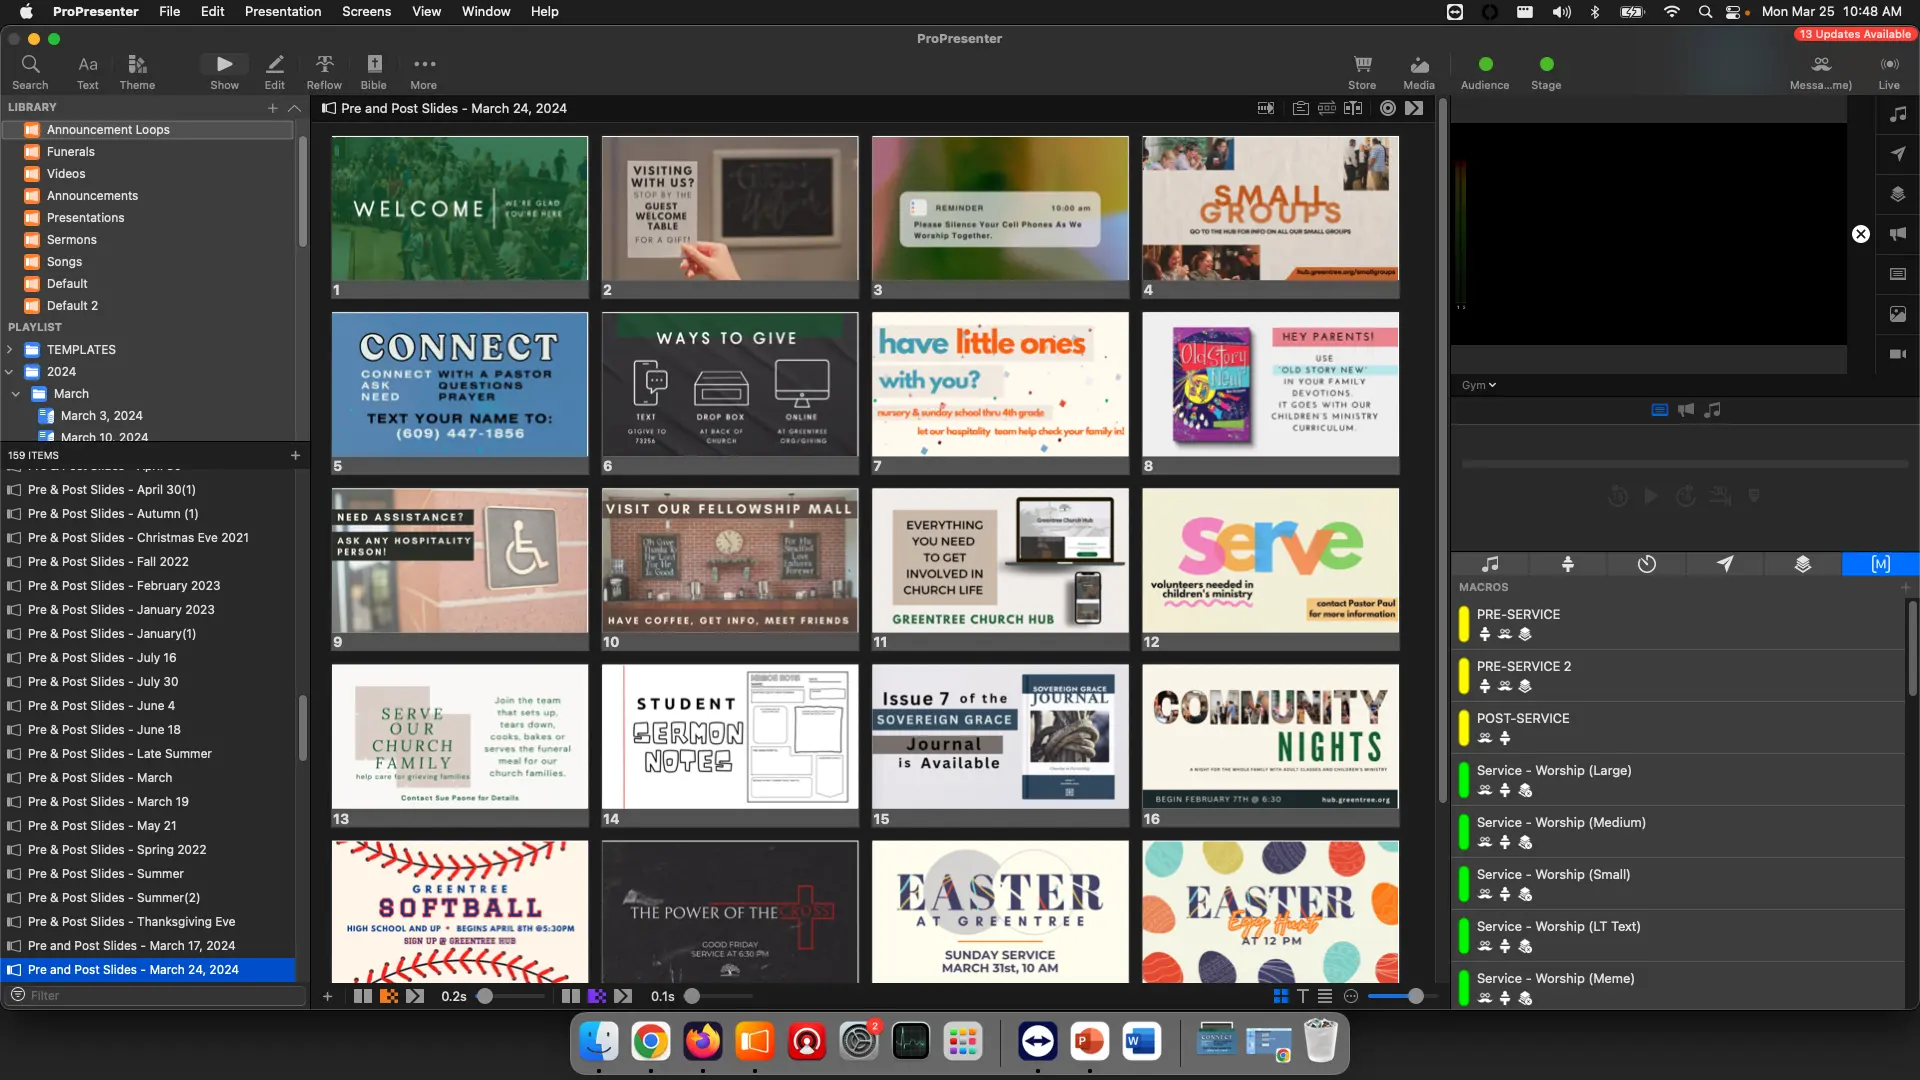
Right click the Pre Post Slides, select Rename, and rename to "Pre and Post Slides - Month Day, Year"
-
Set Advance Timer
From the presentation toolbar, select the timer, and set it to 10 seconds

The toolbar should now read 10.0, meaning it'll advance to the next slides after 10 seconds and loop around.

Pre Slides
- Duplicate the Pre Post Announcement Loop slides
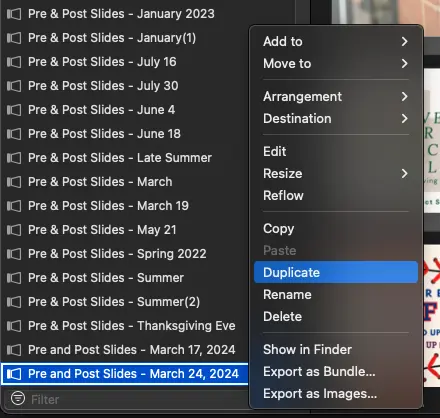
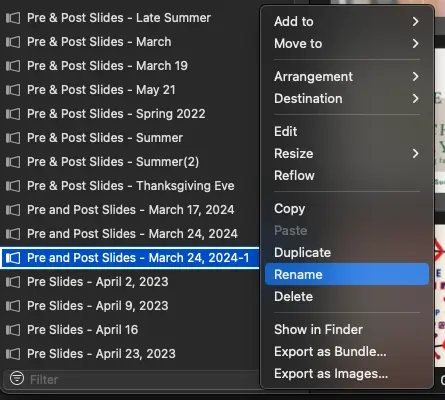
- Rename them to Pre Slides - Month Day, Year

- With the Pre Slides selected, add the PRE-SERVICE MACRO to the first slide
You can do this by right clicking the first slide and selecting
Add Action -> Macro -> PRE-SERVICE
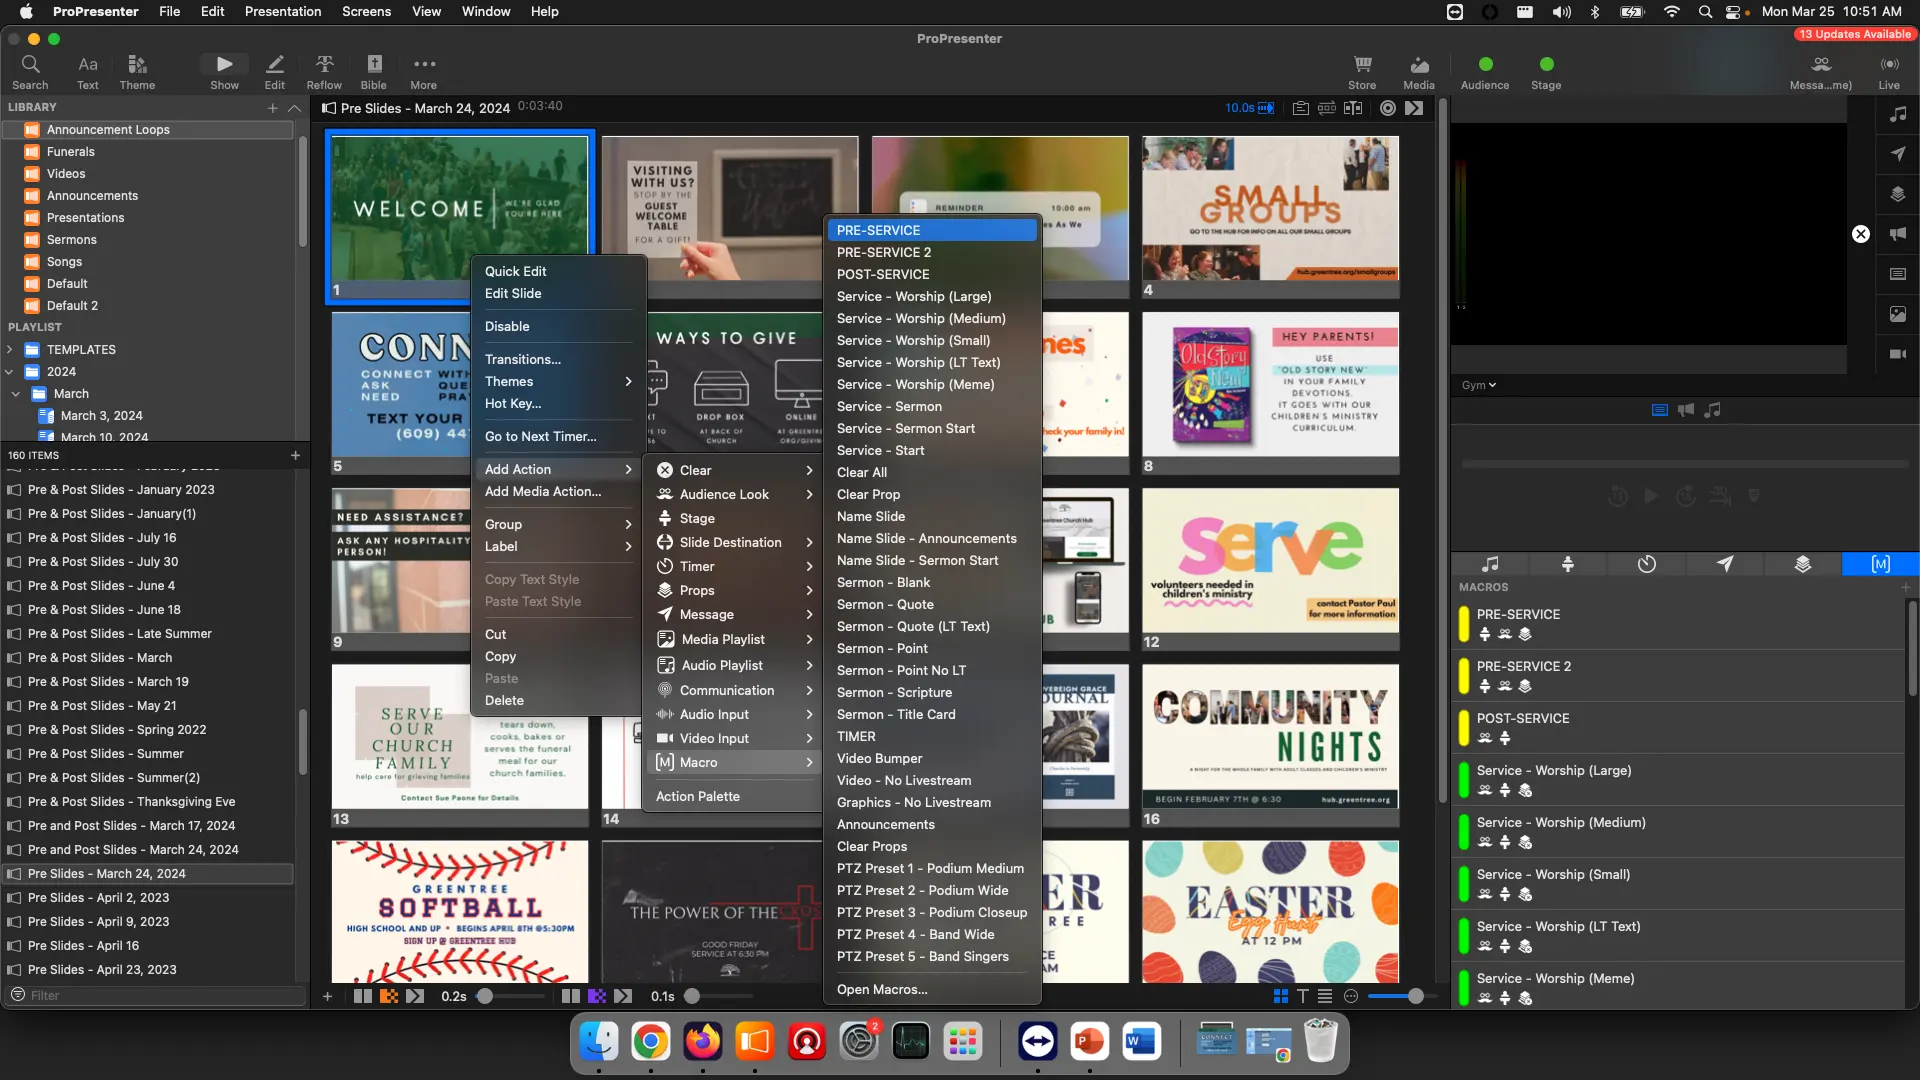
This can also be done by navigating to the Macro page and clicking and dragging the yellow PRE-SERVICE macro to the first slide before letting go to place it there.
Post Slides
- Duplicate the Pre Post Announcement Loop slides
- Rename them to Post Slides - Month Day, Year
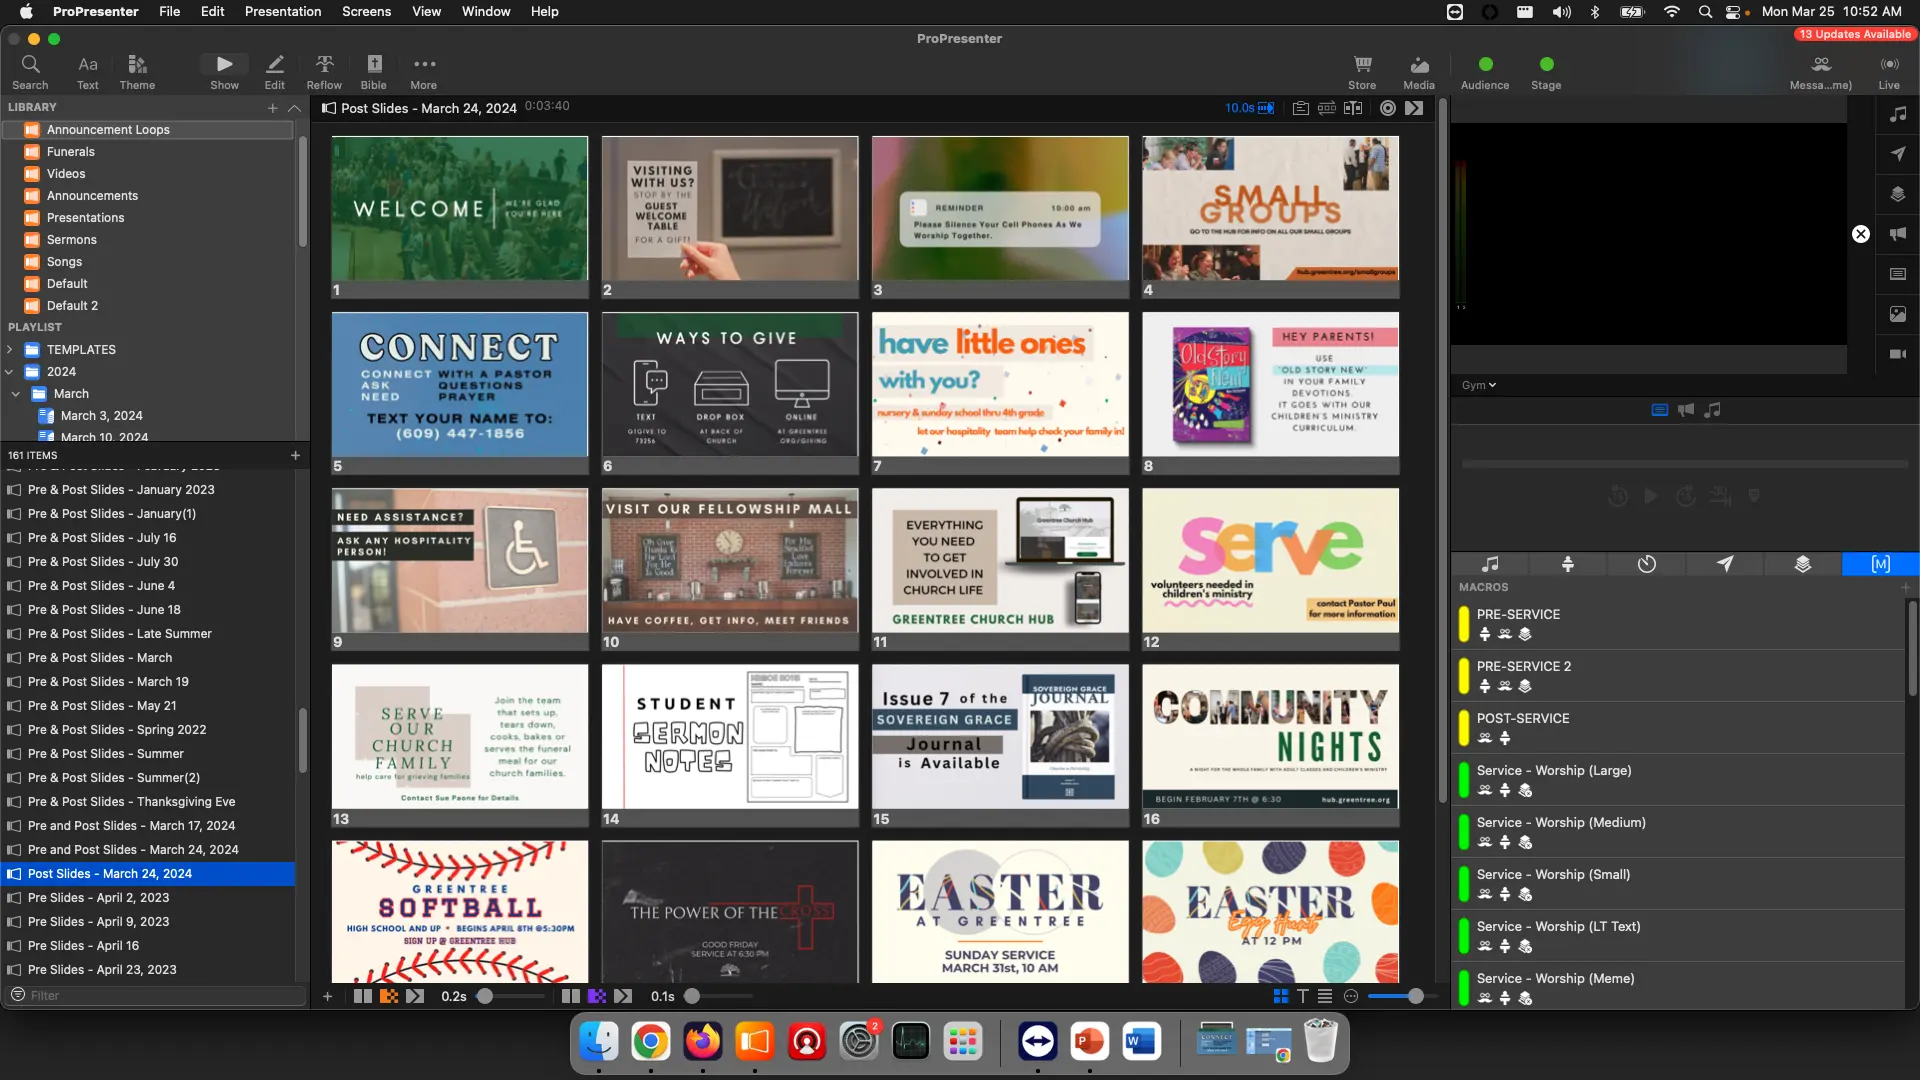
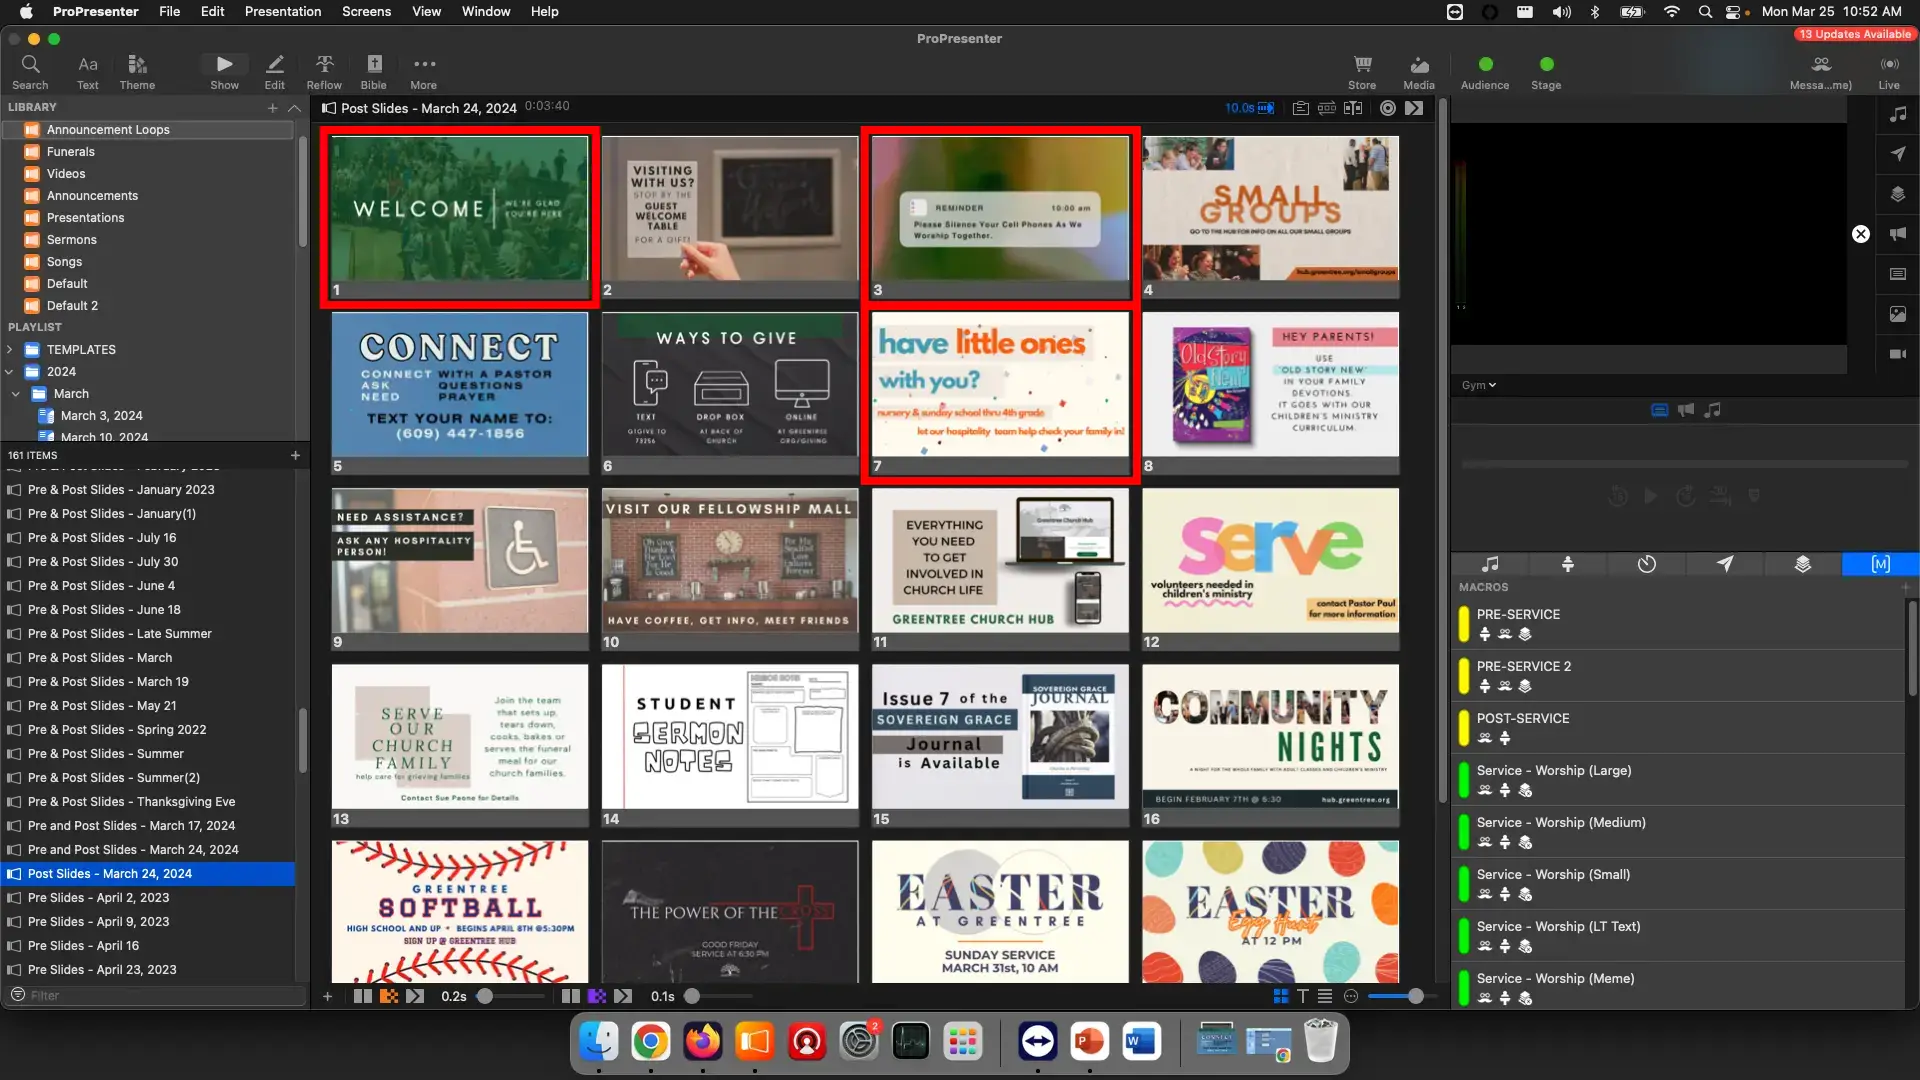
- Remove unneeded slides
Remove slides that aren't relevant for after service
Typically, these are slides like the Welcome Slides and Child Care Dropoff
Right click the irrelevant slide and select Delete
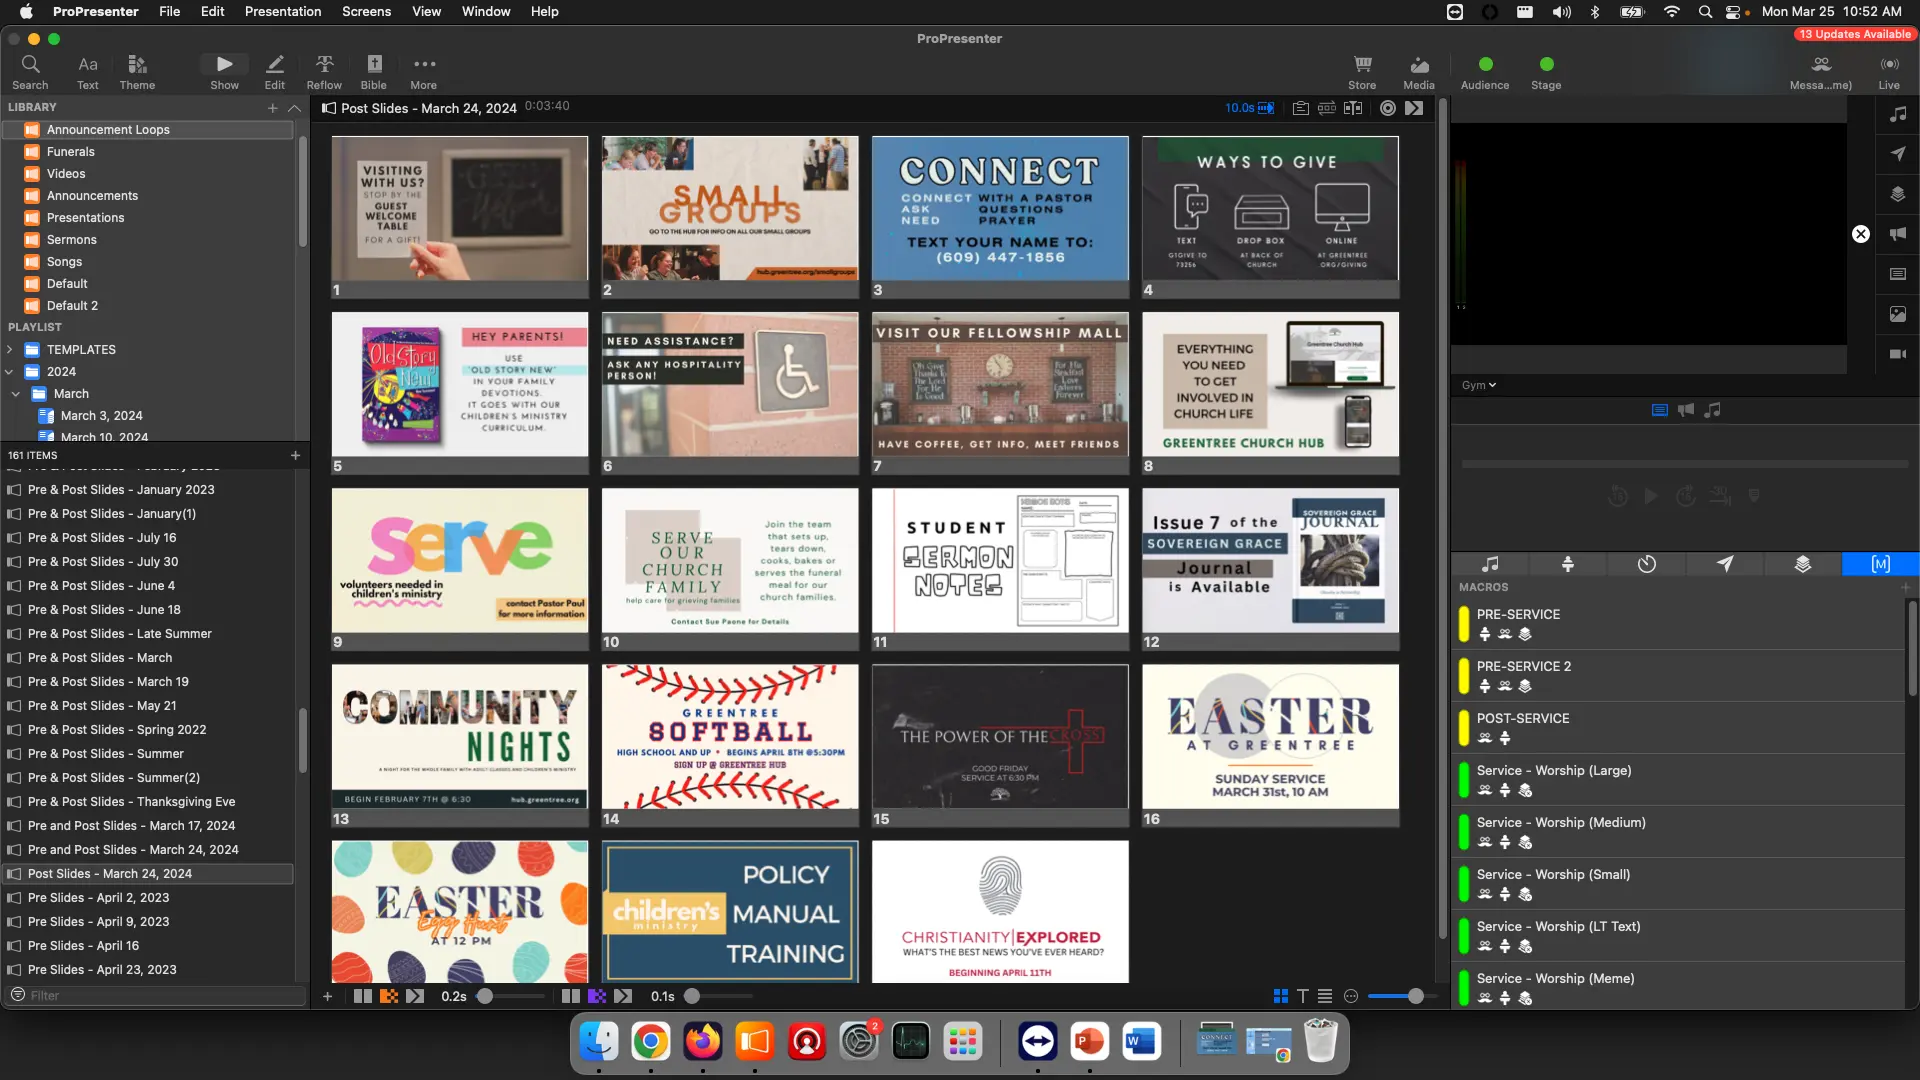
After removing irrelevant slides, it should look like this.
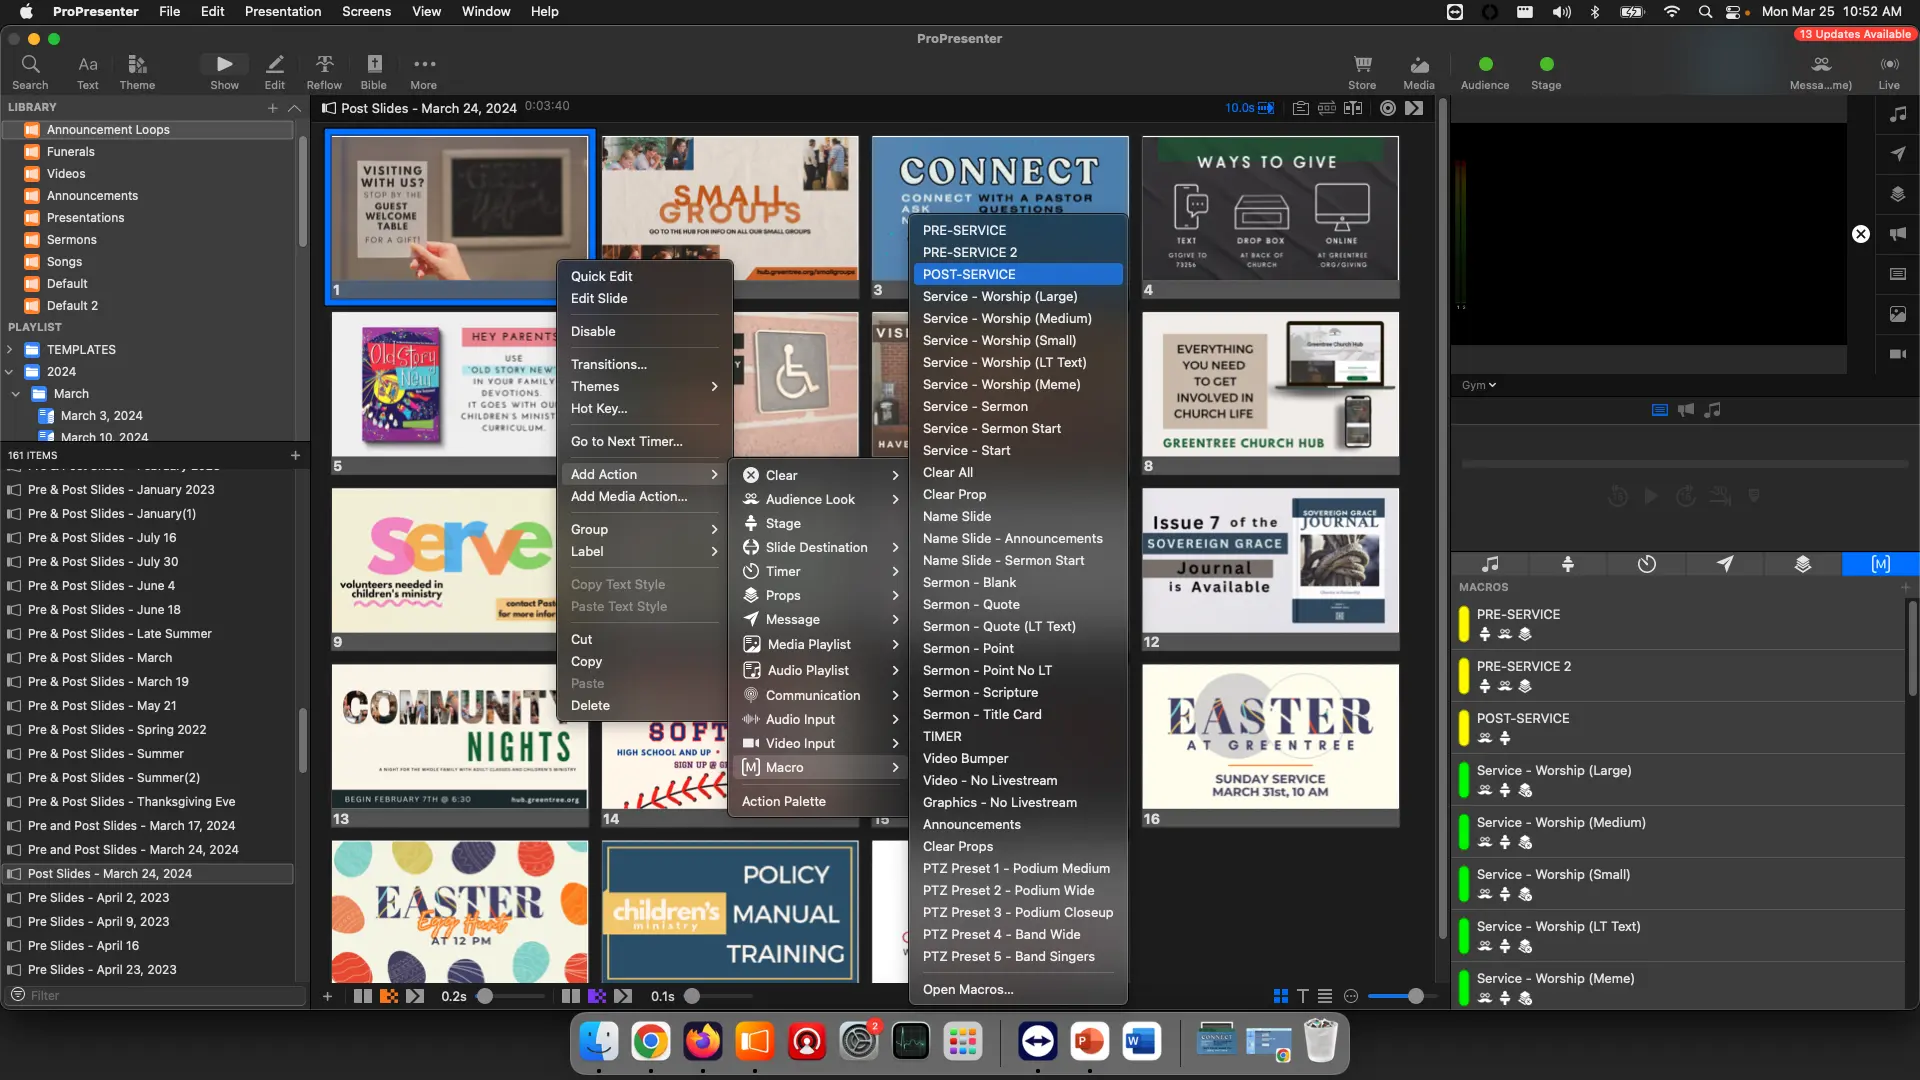
- Add Post Service Macro
With the Post Slides selected, add the POST-SERVICE MACRO to the first slide
You can do this by right clicking the first slide, and selecting
Add Action -> Macro -> POST-SERVICE
Add Slides to Playlist
Click the Search icon in the top left
![]()
Search for "Month Day, Year"
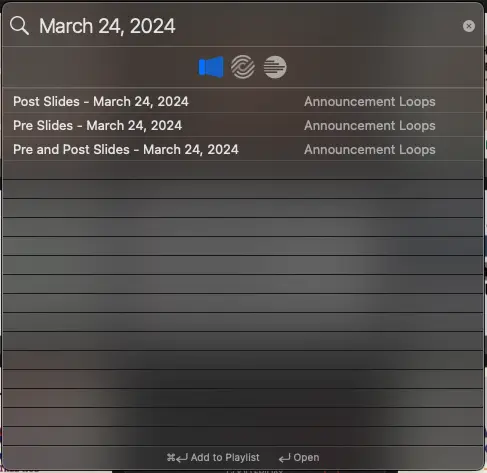
You should see everything relevant for that service, which is why we name it that way.
Place the Pre and Post slides appropriately either at the Pre-Service header or Post Service Header

